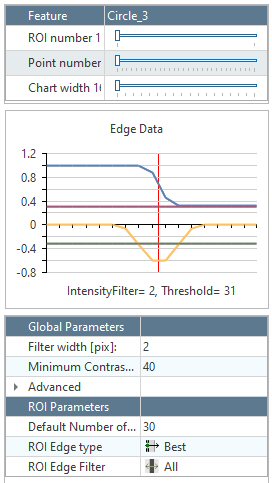
Our adaptive edge detection applies advanced sub-pixel algorithms to dramatically increase optical measurement accuracy. Automatic edge detection within specified ROI (region of interest), auto edge points. Edge detection provides tools and setups to deal with variety of surface finishes and lighting requirements.
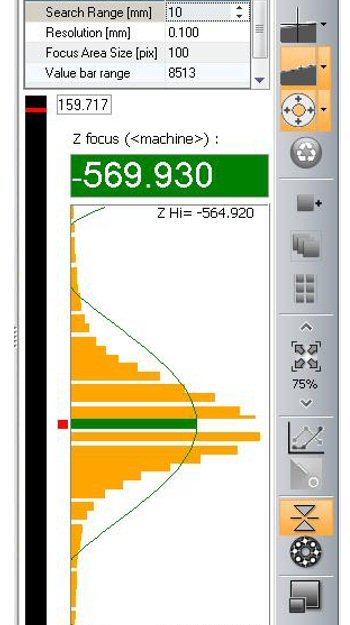
Build in autofocus is offered as standard for both manual and automatic video systems. Focusing an image before the dimension inspection takes place will increase inspection accuracy.
One click operation to measure the range of standard features. Program automatically recognises feature and provides the results.
Machined parts often have difficult and noisy surfaces and edges. Predefined image filters remove this noise to make accurate measurements possible.
Comprehensive set of edge detection tools is available. They are used to detect points, lines, circles, arcs, extreme points and profiles.
The location and orientation of the part placed on the measurement table are automatically detected. No need for precise positioning of the part.
Multiple parts placed within the FOV are recognised, aligned and multiple dimensions and profiles are calculated within seconds.
Camera Field of View is corrected by the four phase calibration algorithm to achieve reliable inspection over the entire FOV area.
The nominal part data can be imported directly from the CAD model in DXF, IGES and STEP formats as standard. For reverse engineering applications the inspection results can also be exported to CAD package.
Our system drivers wipport communication with majority of frame grabbers and digital cameras. We allso support wide range of Light control units. Systems have been implemented with all major CNC controllers for automatic applications.